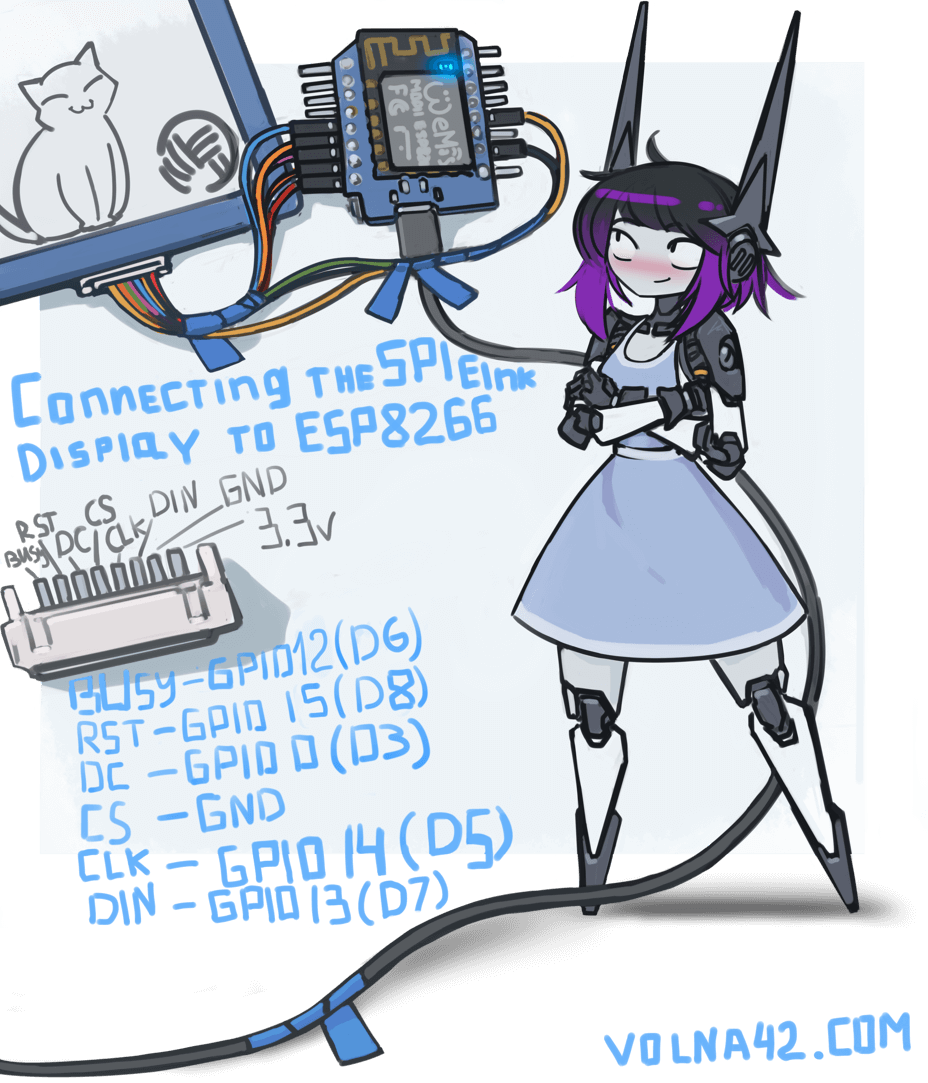
The diagram shows a universal pinout for connecting an E-INK display to the ESP8266 that does not interfere with initialization signals and leaves the I2C pins available for
connecting a sensor (tested for 4.2' displays from Waveshare, WeAct, and should be compatible with some other manufacturers using the same controller - SSD1683 or UC8176).
This pinout is used in all schematic variants and can be used as reference, or for recheck yourself
The remaining free pin D4 should not be in a LOW state when the device starts, but it can still be used for something.
Firmware and Setup instructions
Schematic for USB-Powered Version
Components:
- Module ESP8266 D1 Mini or equivalents (?)
- 4.2' display from WaveShare, WeAct, or GoodDisplay (Display selection and comparisons)
- BME280 temperature and humidity sensor

Note on Flashing the USB-Powered Version
Flashing can be done via USB without any special considerations. If settings are lost or there are issues initializing specific parameters, you can reset through the control panel at http://[device IP address] (Device Management -> Reset Settings).
Firmware updates can be performed over the air via http://[device IP address]/update.
The firmware file after compilation in PlatformIO is usually saved in the project directory .pio\build\esp12e\firmware.bin.
Schematic for standalone version with TP4056 charging module and battery
Components:
- Module ESP8266 D1 Mini or equivalents (?)
- 4.2' display from WaveShare, WeAct, or GoodDisplay (Display selection and comparisons)
- BME280 temperature and humidity sensor
- 510 Ohm Resistor
- 180 kOhm Resistor
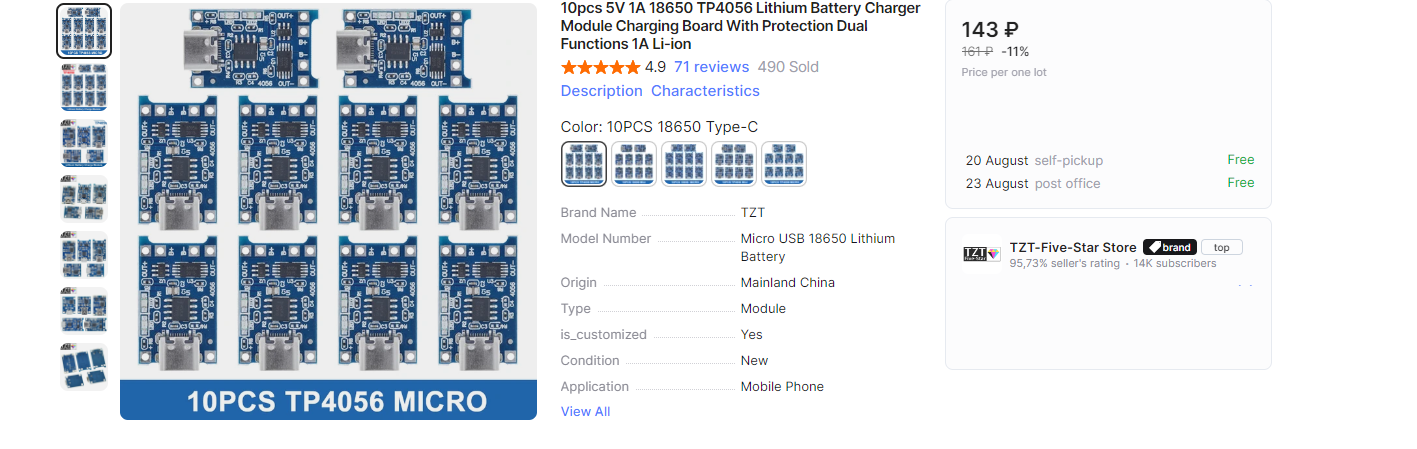
- TP4056 Charging Module
- 2x Switch

 Always turn off the device ("Power switch" on scheme) or remove battery before flashing via USB
- By default, the standalone version reads input voltage on A0 pin (BAT_SENSOR), and if BAT_SENSOR switch is off, enables constant operation mode - connects to the WiFi network and obtains an IP address for remote access and further configuration/direct control. The IP address will be displayed on the screen.
- If you are using an ESP8266 version other than the D1 Mini, internal protective resistors may have different values. If necessary, you can adjust the variables in the Env.cpp -> readBatteryV() method.
Note on flashing the Battery-Powered version
Firmware updates can be performed by web-panel http://[device IP address]/update
Simply switch the device to constant mode (disconnect pin A0 and reboot). The firmware file after compilation in PlatformIO is usually saved in the project directory .pio\build\esp12e\firmware.bin.
If this option is not suitable and frequent flashing of the ESP8266 is required during development and testing, to avoid accidentally connecting power via USB while the battery is still powering the ESP8266, you can separately bring out the RX, TX, and GND pins and connect the device to the computer through them, using a separate USB-COM (USB to TTL) converter. In this case, to put the ESP8266 into flash mode, temporarily connect pin D3 to GND, press RST, or power-off \ power-on device, then upload the firmware via PlatformIO.
Permanent connection to power in versions with the TP4056 charging module was not considered, as it is not designed for that. It is recommended to completely turn off the device during charging or add protection using two 1N5817 diodes as done, for example, in the SlimeVR project.
If the device is to be powered continuously from the mains, you can opt not to use a battery at all. If power is restored, the ESP8266 will automatically restart and continue to operate. However, if you want to use a battery as a backup while the device is constantly powered from the mains, it is better to look for charging modules designed for continuous power connection, such as searching for "Lithium battery charger ups power supply 5v 18650" which provides many ready-made, inexpensive solutions designed for continuous mains power with battery backup. The board will be slightly larger, and you will need to adjust the case accordingly. In practice, it has not been necessary to complicate this area too much, as the device can operate for several months on a regular battery in normal mode with sleep transitions.
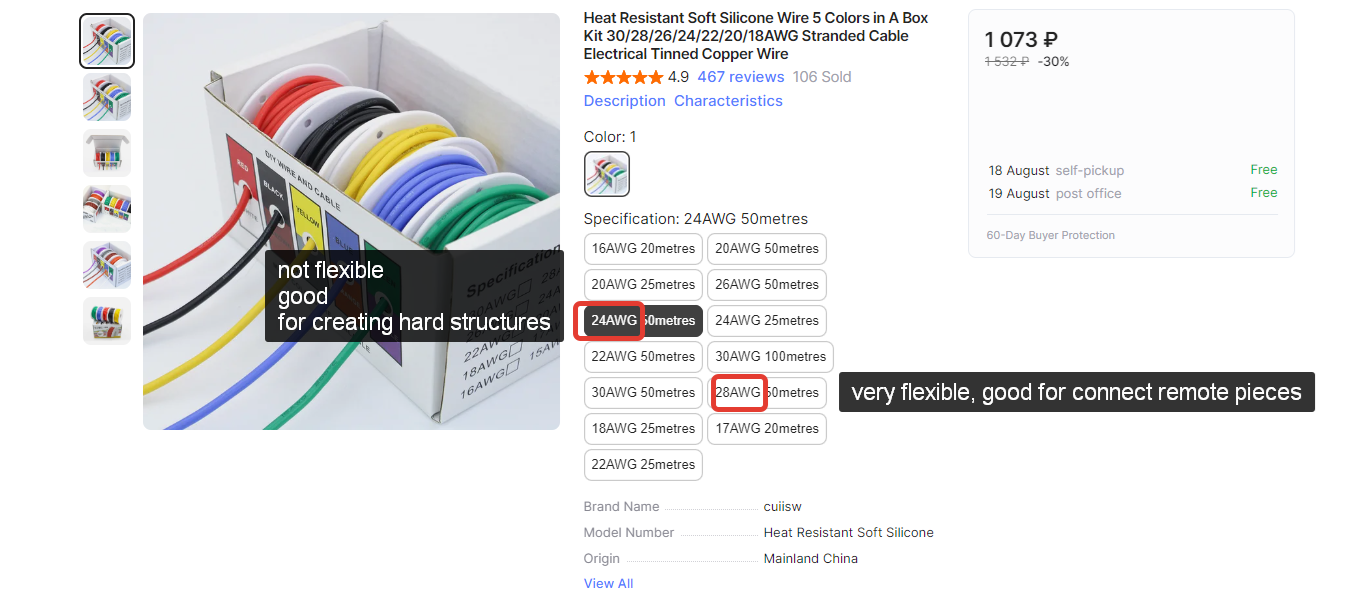
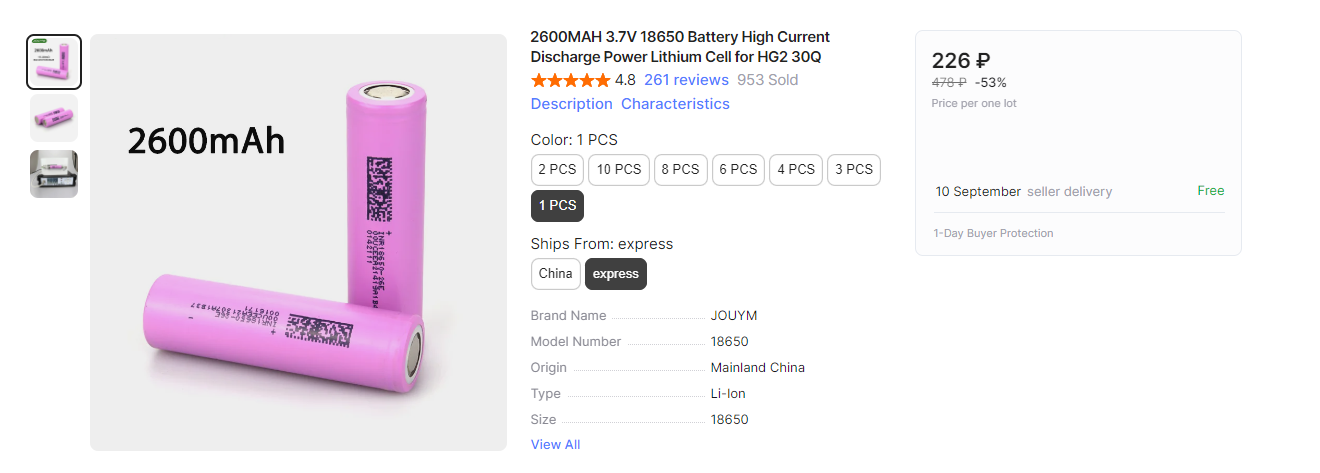
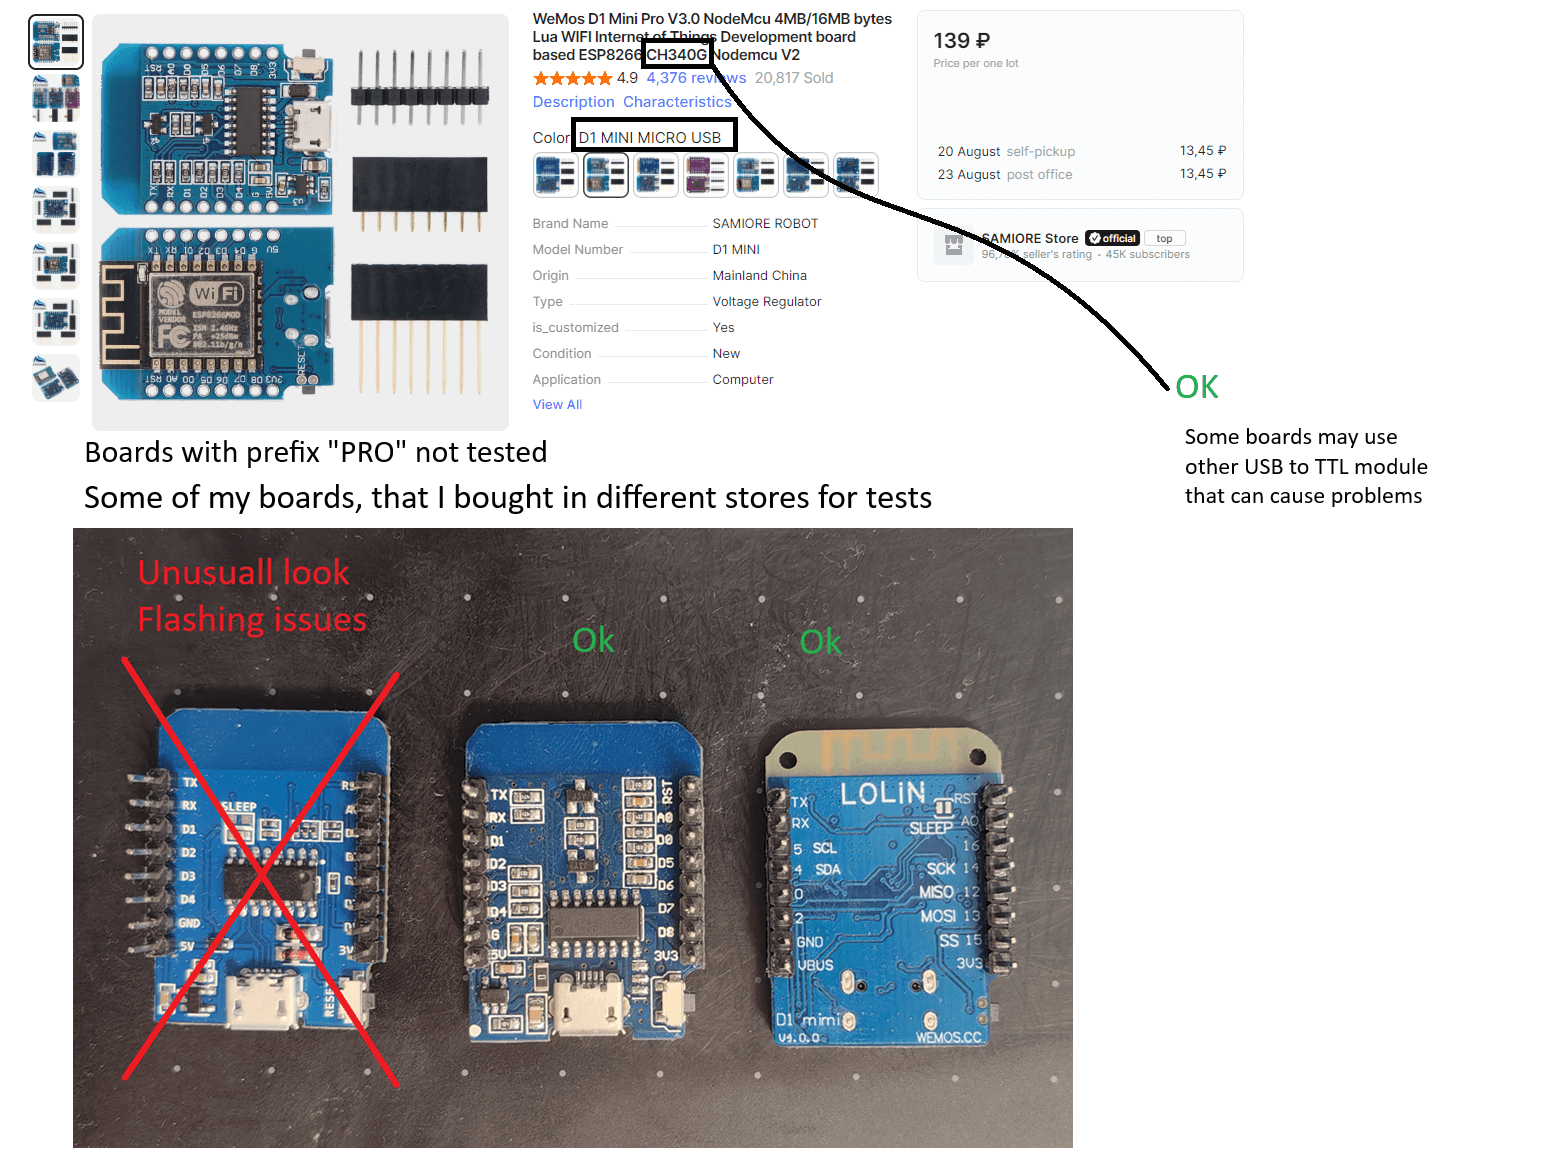
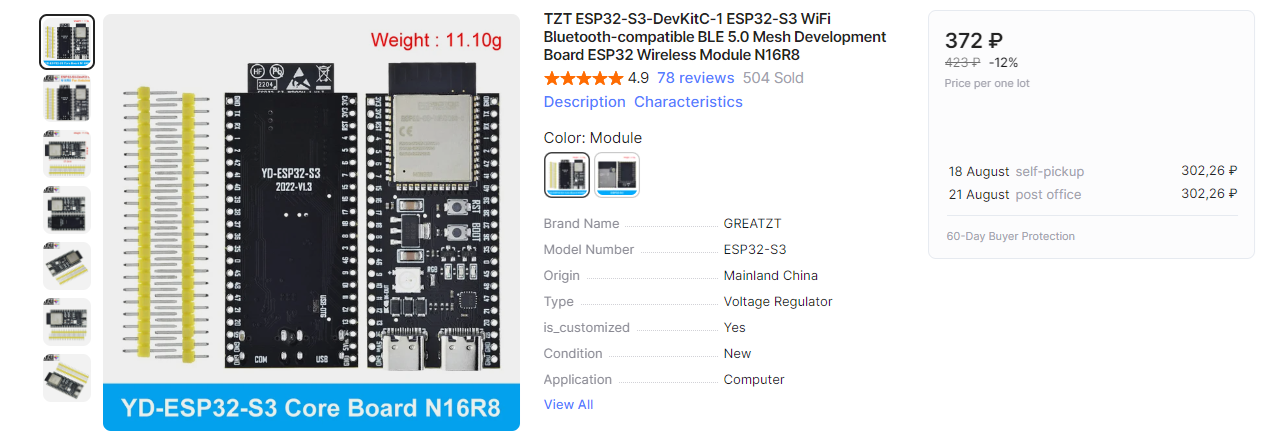
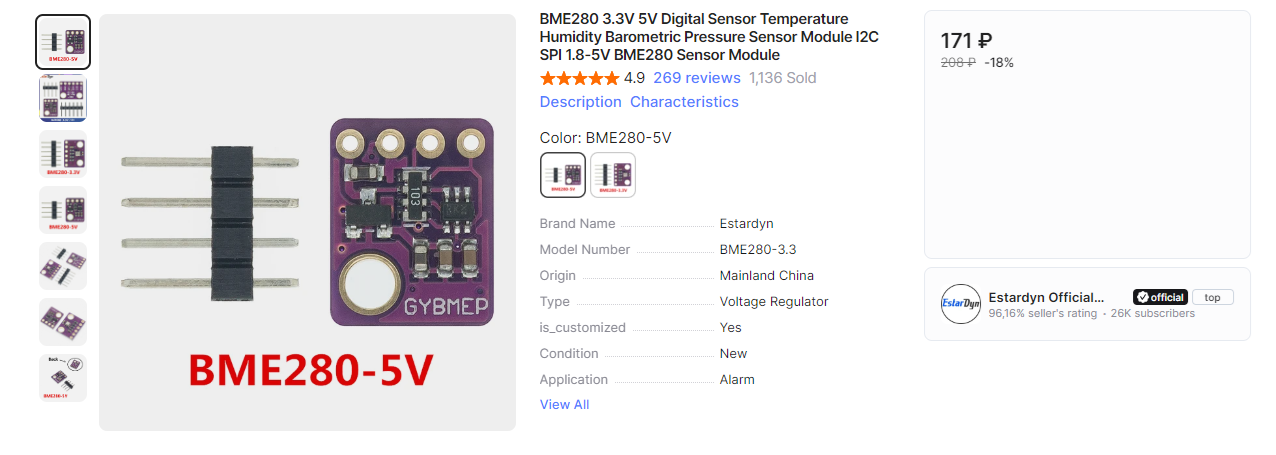
Pages of modules and elements on marketplaces with exact names
Pages of those components that I used in the assembly, with some comments. Prices are current as of 05.08.24, screenshots are given for the exact names of products
Displays

Microcontrollers
Temp & Humidity sensor
Other